My parents moved to Knoxville, TN a few years ago. If you live there or have visited then you know how beautiful it is. Nice weather, nice views and nice people. There is a lot to do there. One thing I noticed while visiting was the amount of dog parks they have. Some are very large. Some have small lakes and others have trails. Pretty amazing. My last visit, I brought my two pups with me. A road trip with two small dogs was quite an experience. They were ready to run by the time we got there. We decided to check out all the different parks in the area.
The Pet Safe Dog Park quickly became our favorite. There were shallow ponds with large rocks in the bottom. They spent the entire time at the dog park in those little ponds. They hopped right in and wandered around on the rocks. My dogs absolutely love water, they spend quite a bit of time in their dog pool and playing with the hose at home. So this was perfect for them.
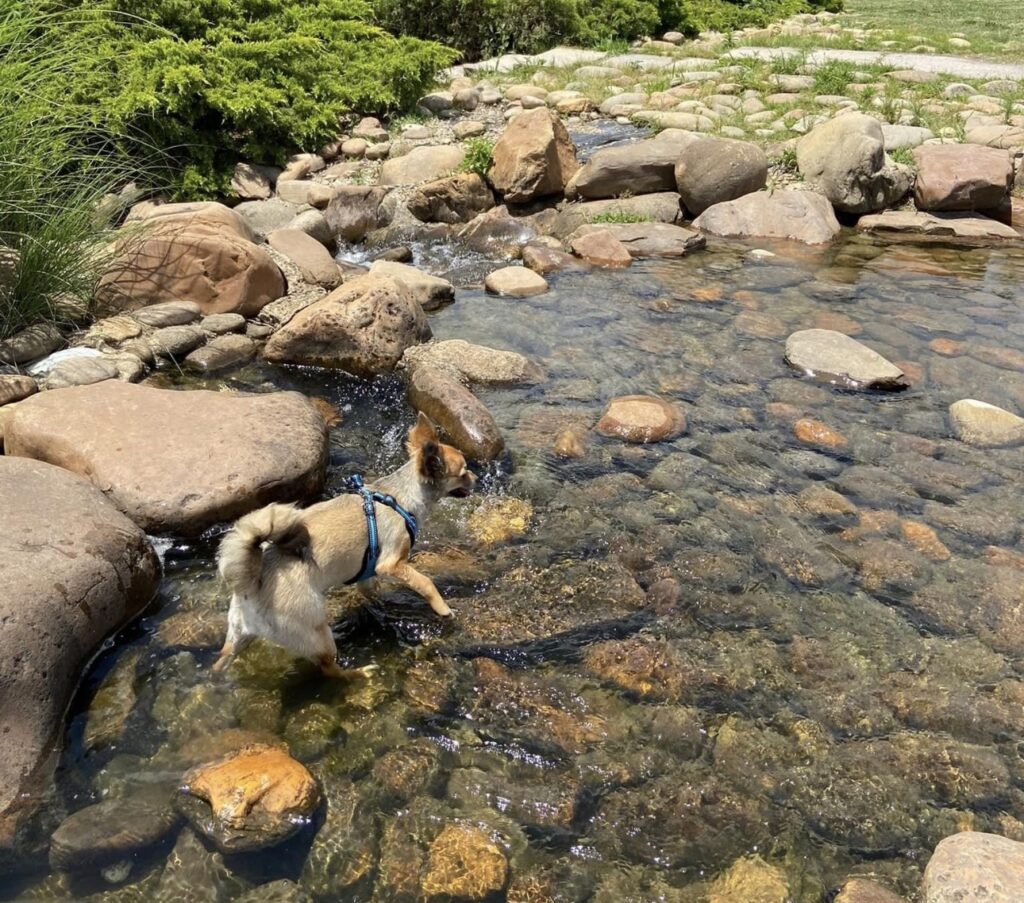
I was sitting in my backyard one evening thinking about how much they loved it. I wondered if there was a way to make my own version of it. I started thinking about where I could put one and researching what would be involved. I picked an area near my patio. I thought it would be peaceful to have the water running while sitting out there.
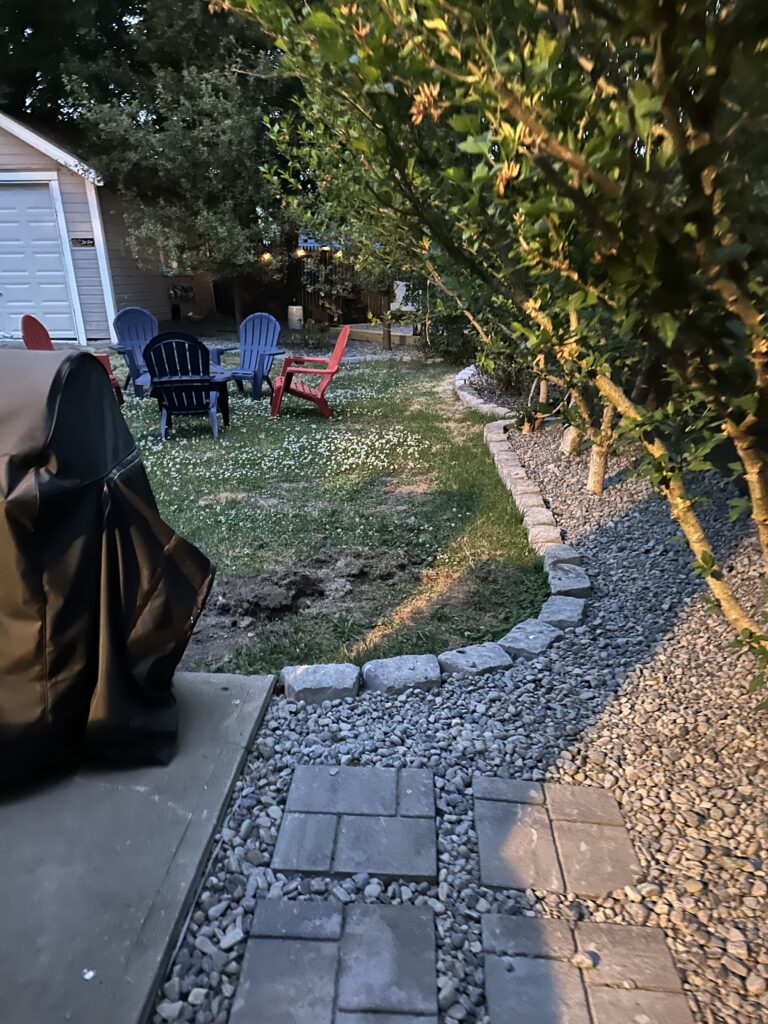
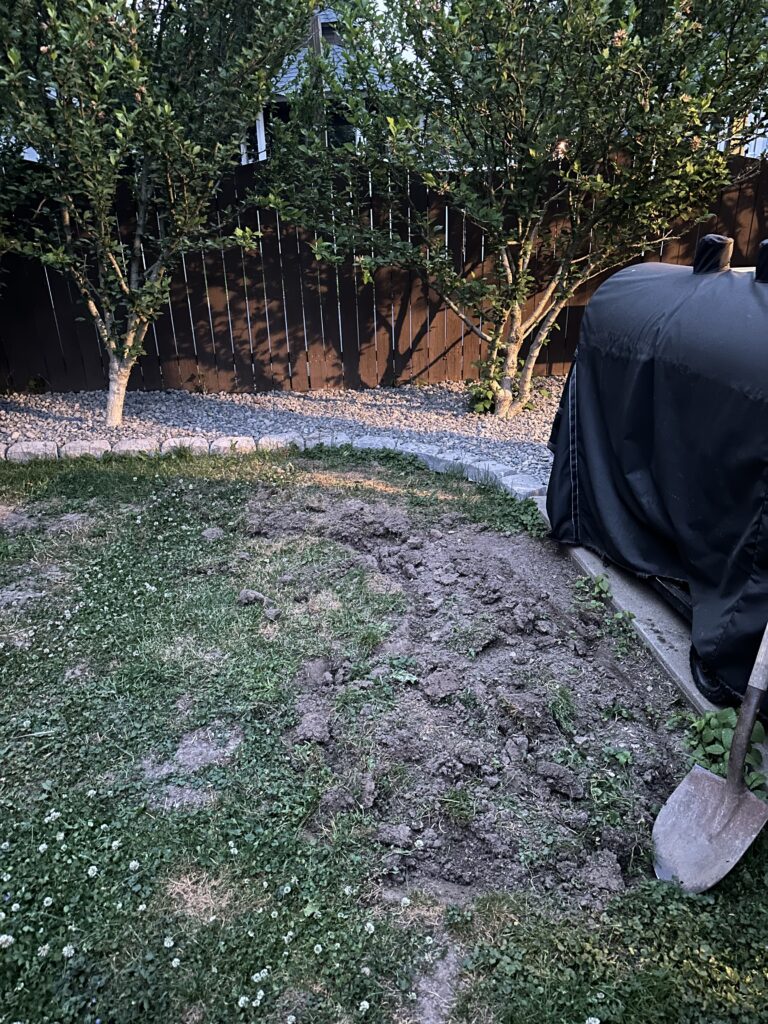
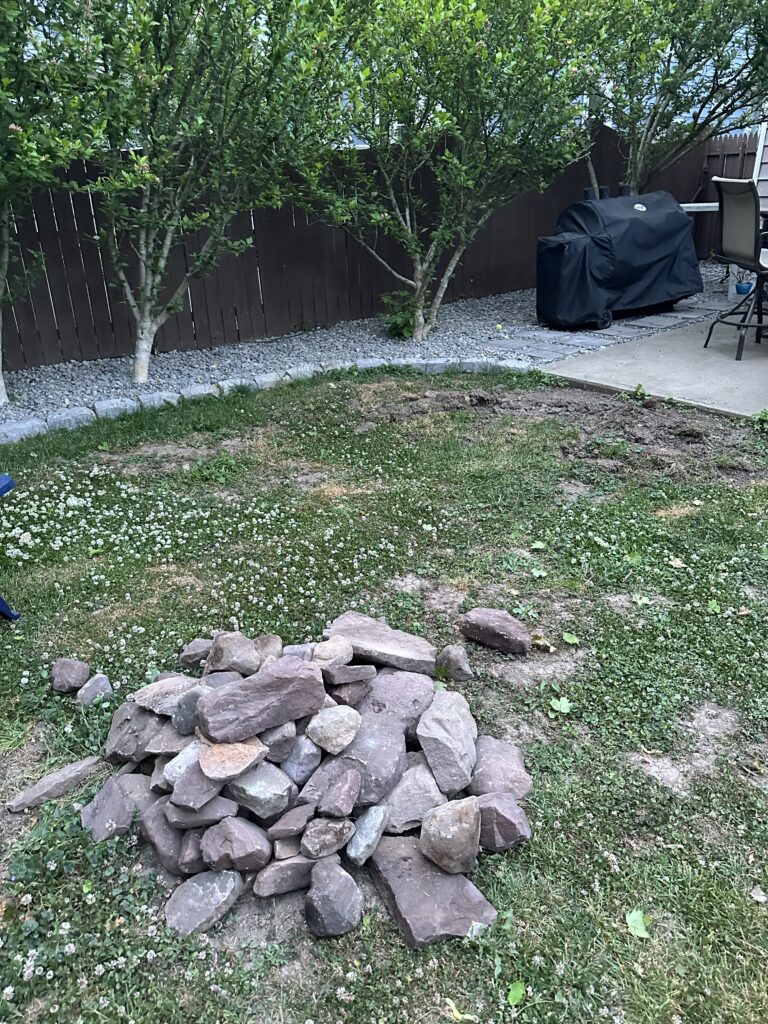
Because I was making this pond for the dogs, I decided not to have fish in it. I also wanted it to be shallow but had to make one end deep enough to hold the pump and filter box. The waterfall was the most challenging part. I had a vision of what I wanted but had to do a little research to find the right supplies to make it happen. First thing I did was make a list of what I needed for my pond project.
- Pond Liner
- Filter
- Pump
- Hose
- Pump Box
- Rocks
- Chemicals
After I had my list complete, I marked the area and started digging. I started with the side the waterfall was on and gradually dug deeper as I went. That way the water will flow towards the pump and filter that’s in the deepest point of the pond. If you plan on having a waterfall, you will need a hose that connects from the pump back up to the waterfall.
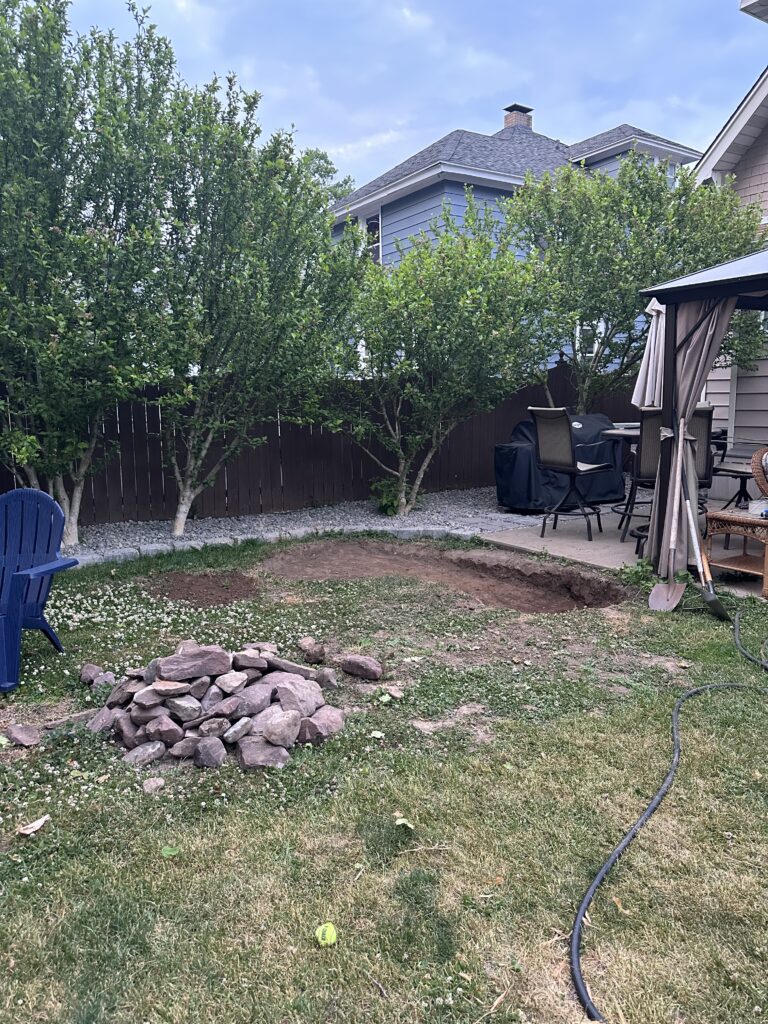
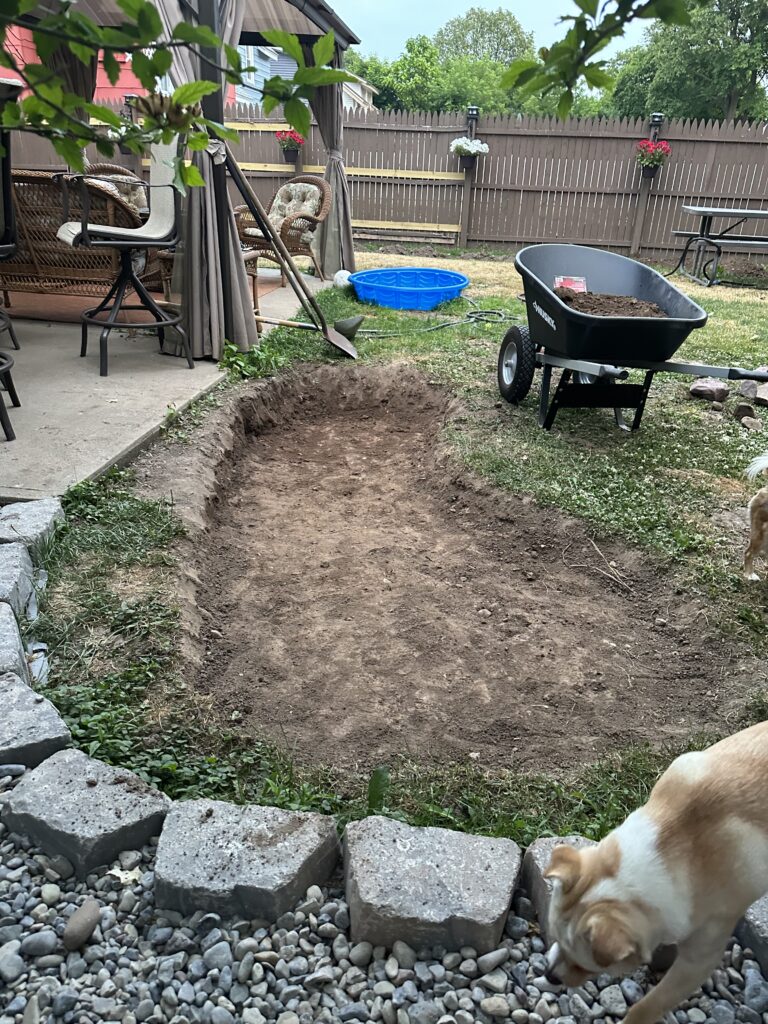
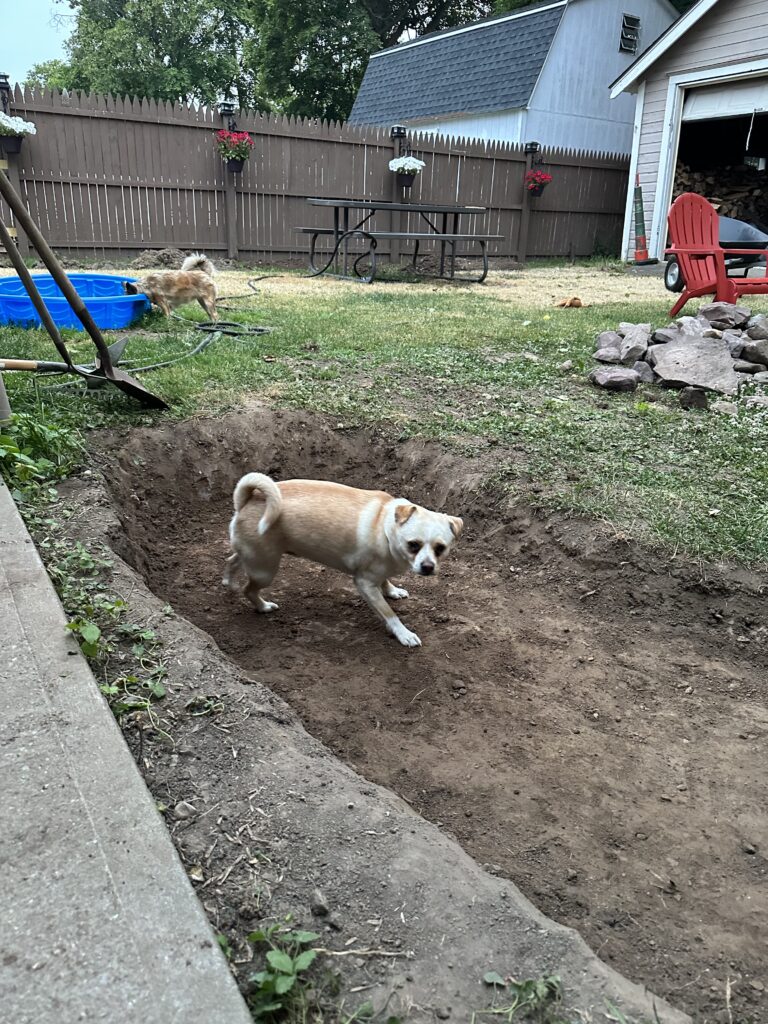
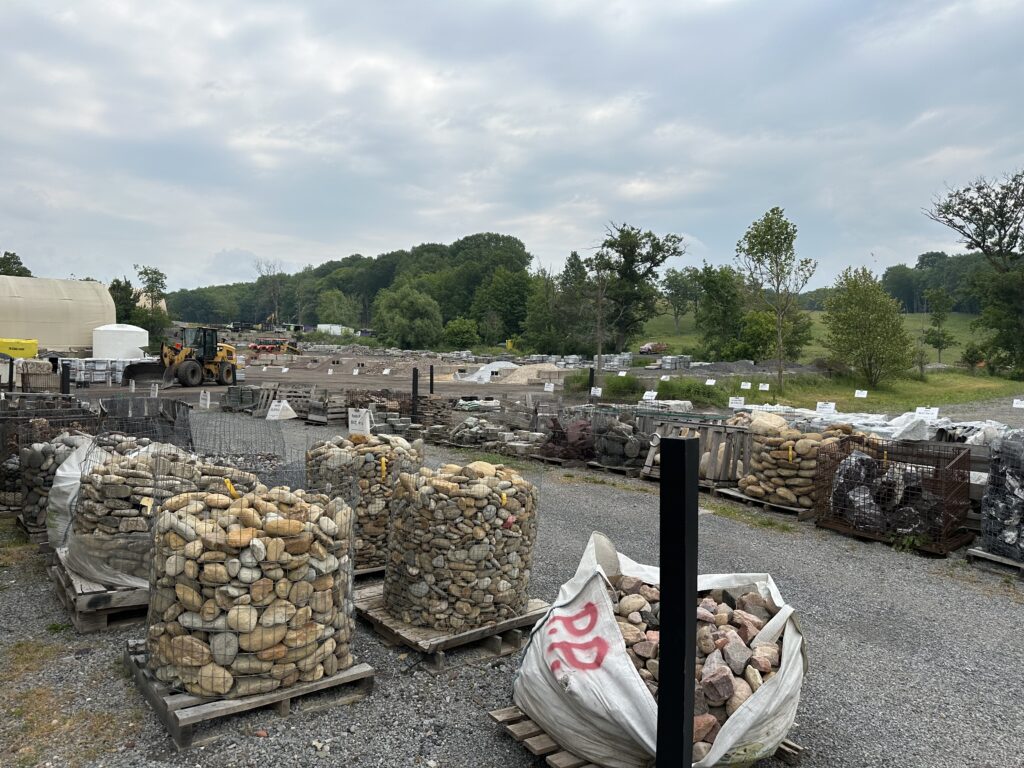
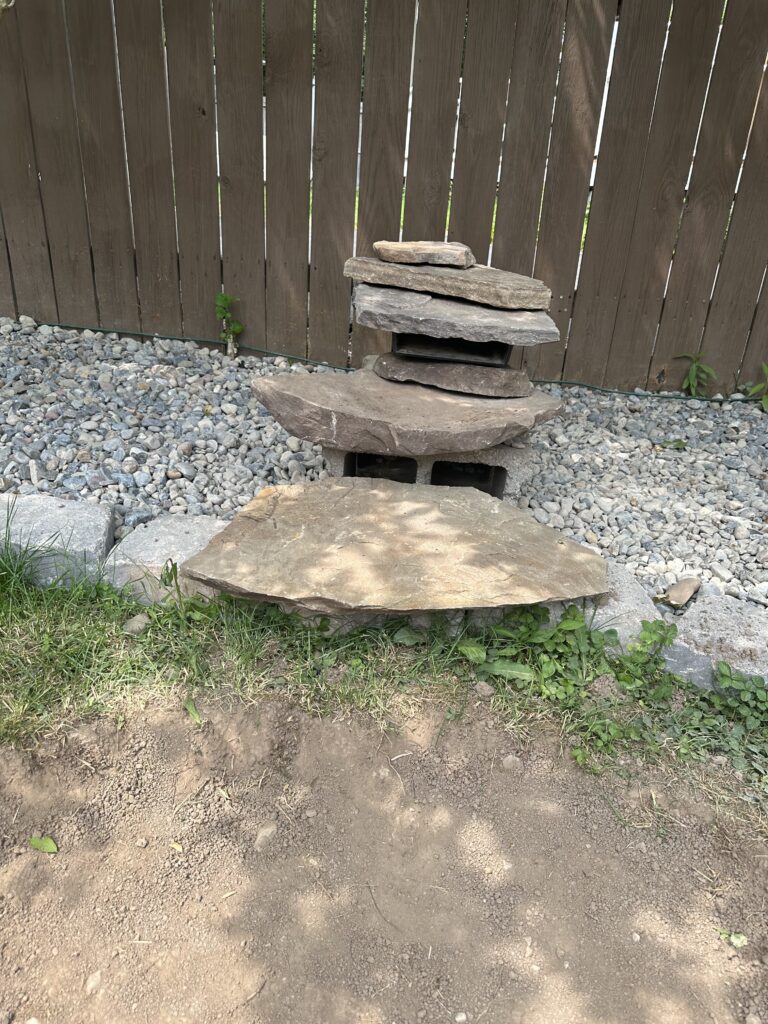
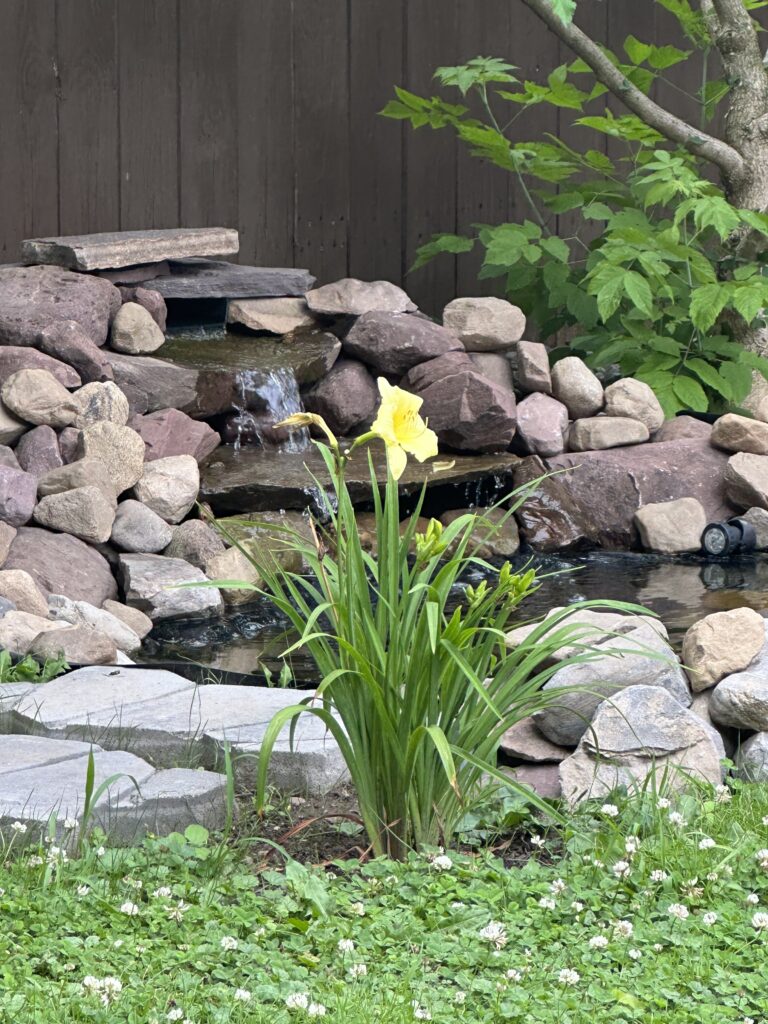
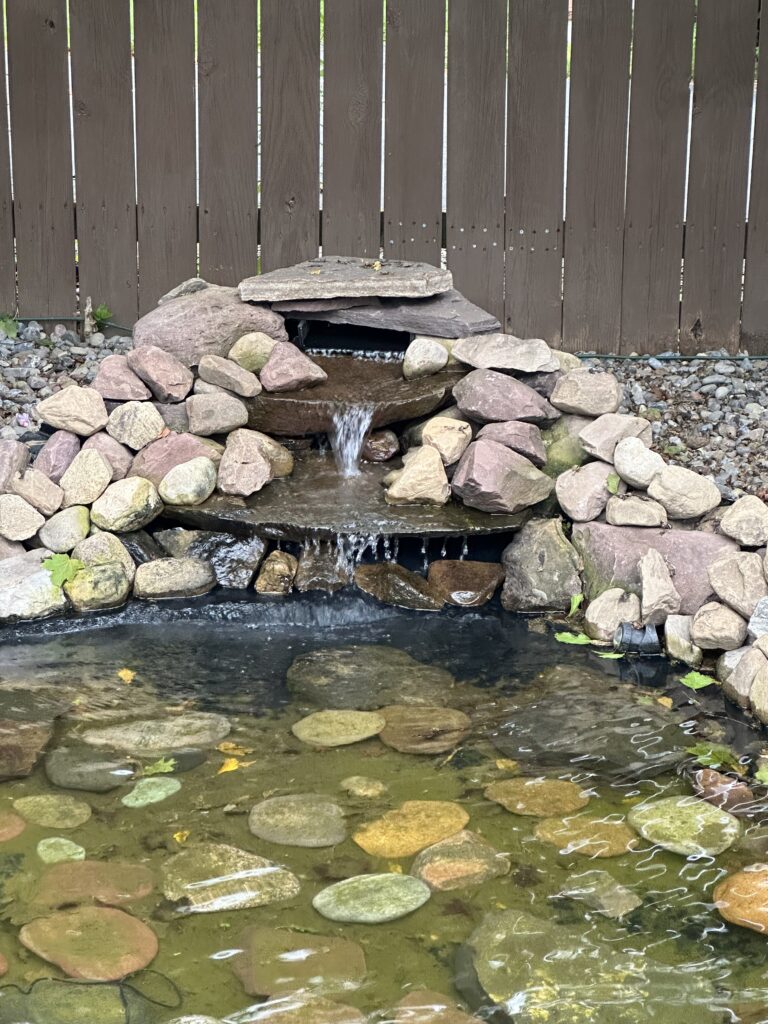
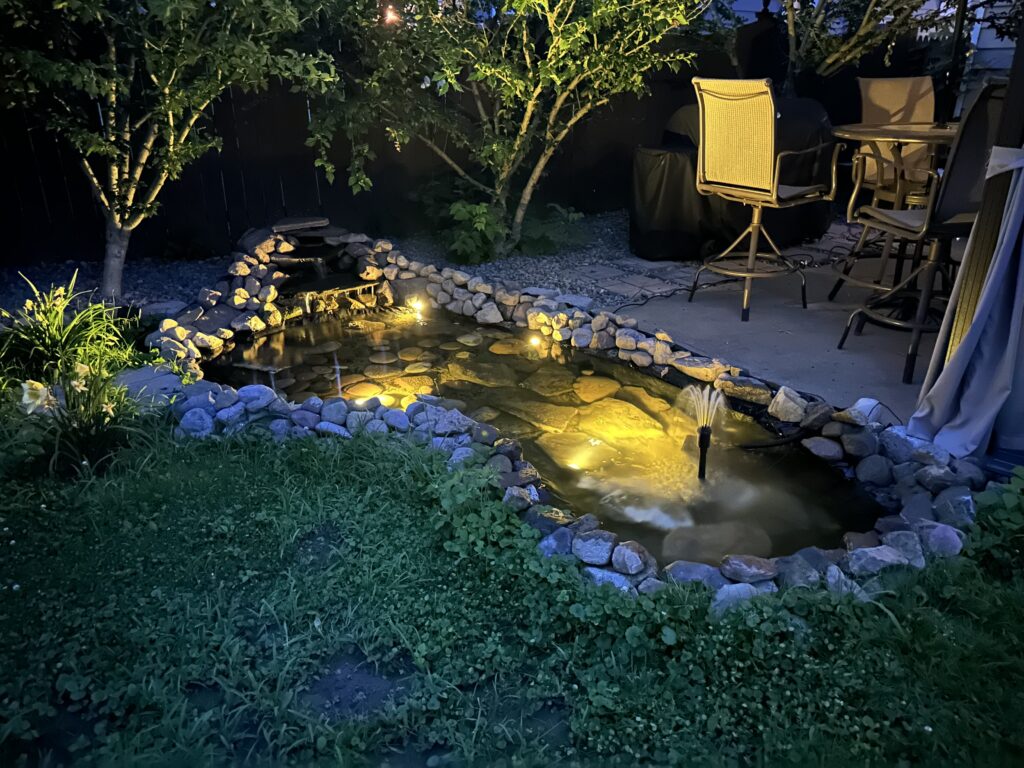
Next, I planned out the waterfall. I went to a local landscaping company and picked out a few large flat rocks. Depending on how big of a waterfall you want, you may need more. They need to be arranged with the smallest on top and largest on the bottom. You will need a waterfall box of some sort. This will keep a continuous buildup of water that is being pumped up to the waterfall. I chose a spill box that I could put in between rocks. You can find it here. As you can see, I used cinder blocks to create the waterfall.
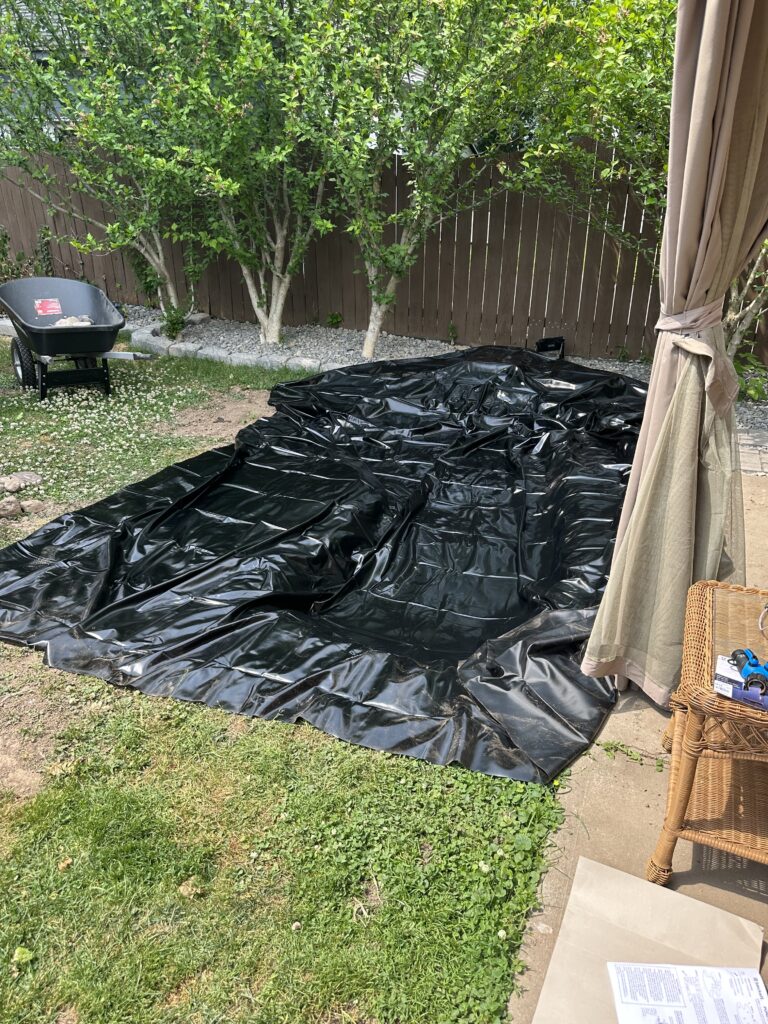
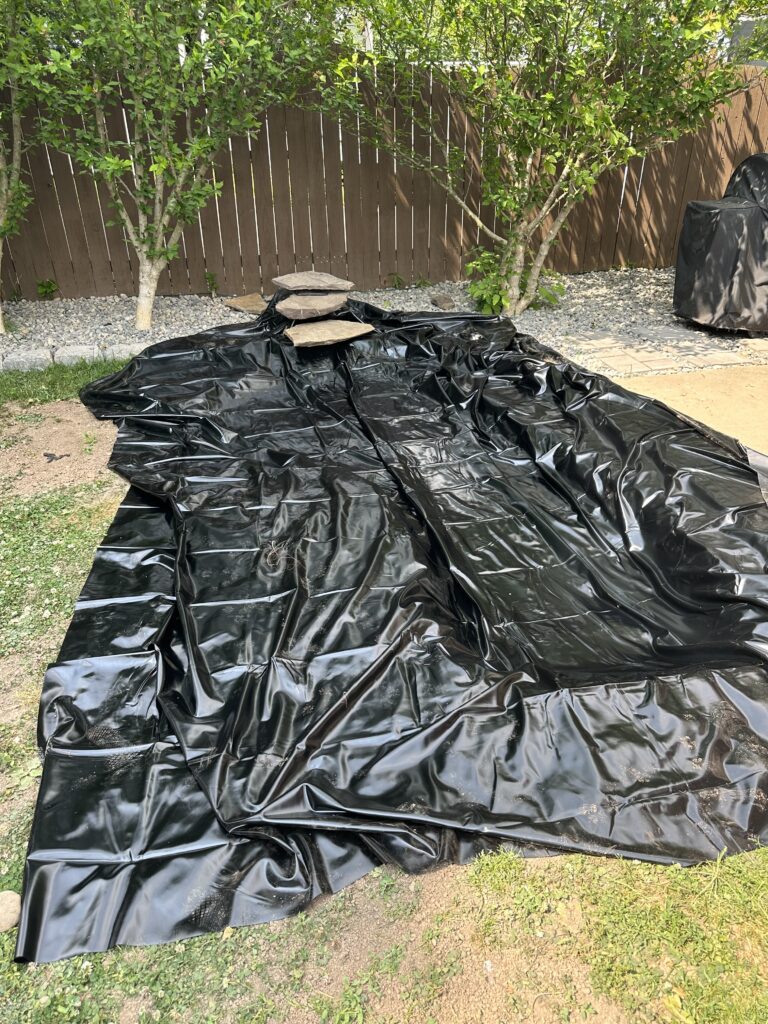
Next, I put down the liner. I bought one large enough to put in the pond and under the waterfall. The liner needs to be large enough to cover enough of the edge to place rocks on so that the water will run back into the pond instead of overflowing if it gets too high. I went with a heavy-duty liner, 20mm. I wanted something that would hold up especially since I was putting rocks in it. You will cut off the excess once the pond is completely finished.
Once your liner is in place, you can set up the waterfall, pump, hose and filter. I purchased a filter box to house the pump in. If you don’t buy a pump kit, make sure you chose the correct size hose (read the pump package). You will hide the hose under rocks along the side or in the water. The excess can also be cut ff once the entire pond is done. Another piece of advice is to make sure you have a power source or plan in advance if you don’t. Most pumps have a 16-foot cord.
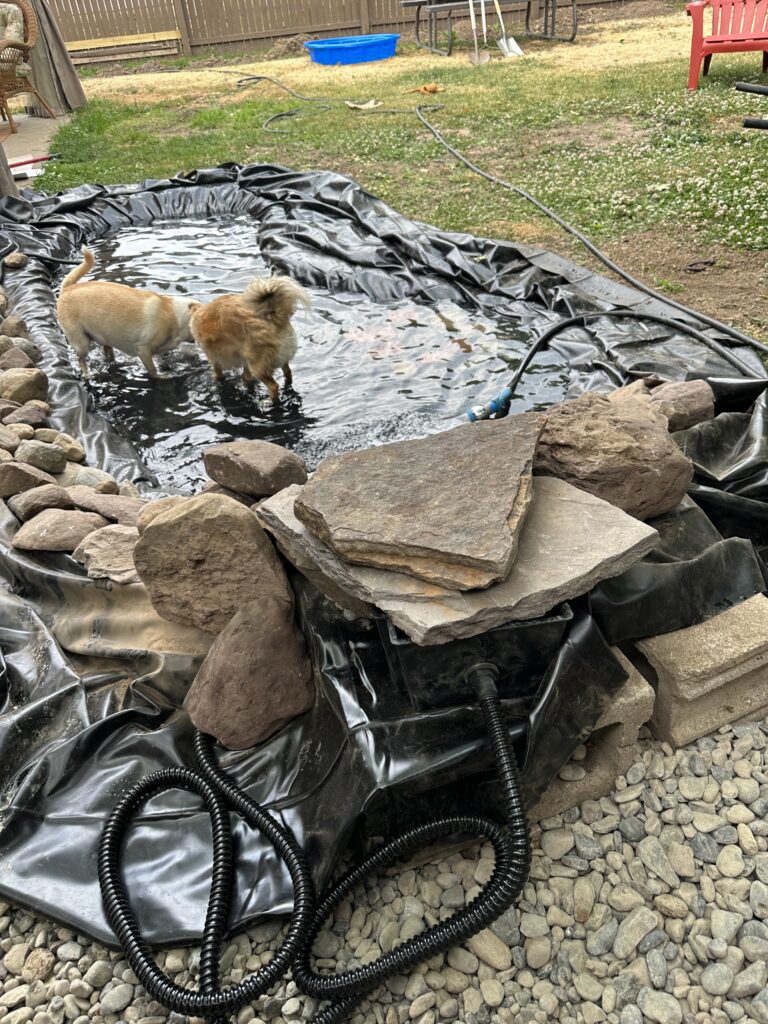
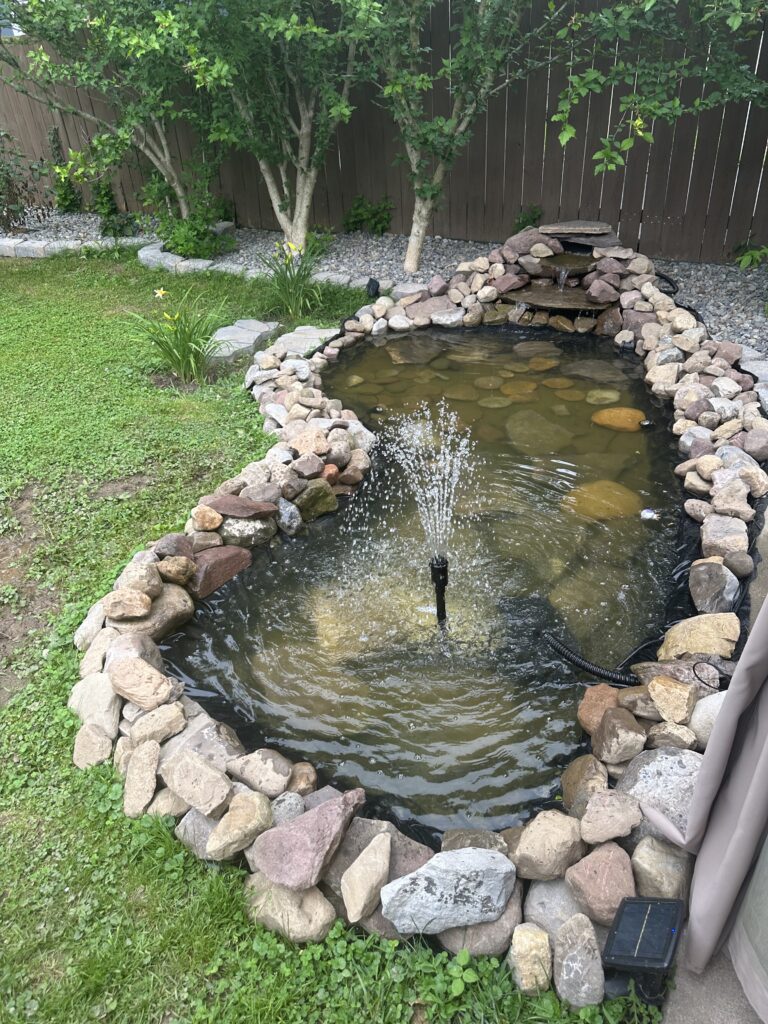
Next, place rocks around the pond. Put some medium flat rocks under the liner all the way around the outside. This will help keep the liner at a slight angle so the water will flow back in when it gets too high. Then stack medium-sized rocks on top of the liner and fill gaps in with smaller ones. Place larger rocks around the waterfall to hide your set-up. A great place to find rocks is on Facebook Marketplace. I was able to get a bunch of rocks for free. I also made a trip back to the landscaping company to pick up some colorful rocks for the bottom.
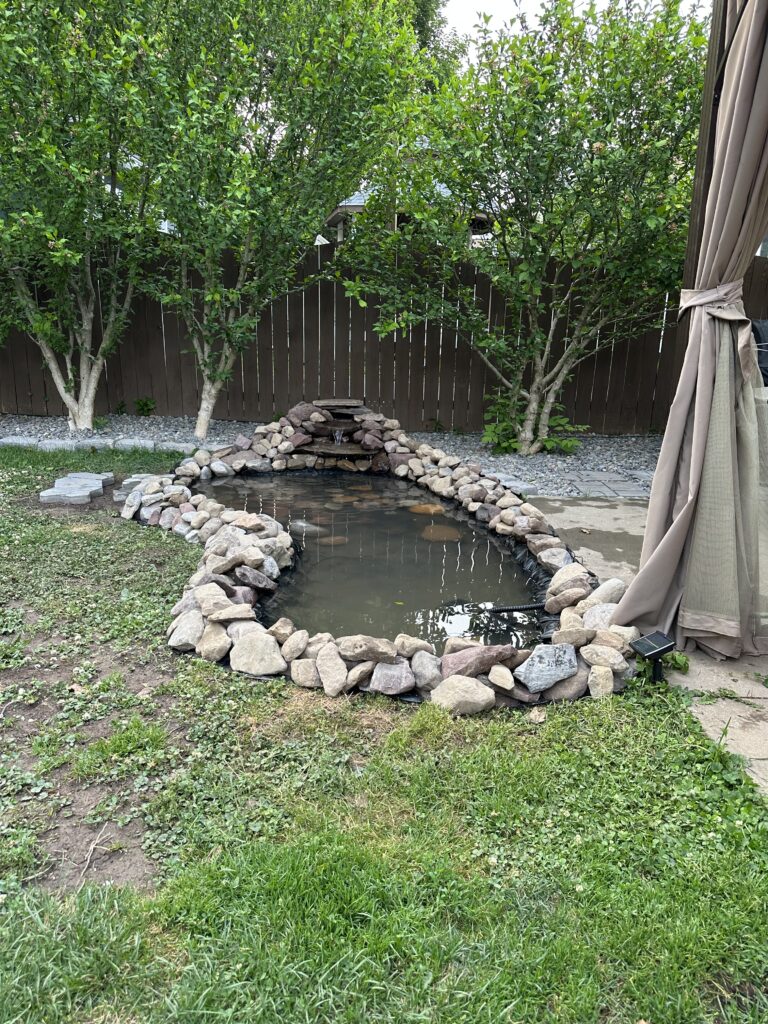
After all the rocks are in place, it’s time to fill it up! Then you can add in some extras like water spitters, fountains or lights. I added submersible solar power lights to each end. It’s beautiful at night. I also put a second pump and fountain in the opposite end as the waterfall. Lastly, Add some greenery or flowers along the outside. Then sit and enjoy your hard work!
~Passionate Pisces

I love this! Your amazing!!
What a fantastic job, you’ve done explaining exactly how to make one! I feel confident I could do it now😁 thank you